
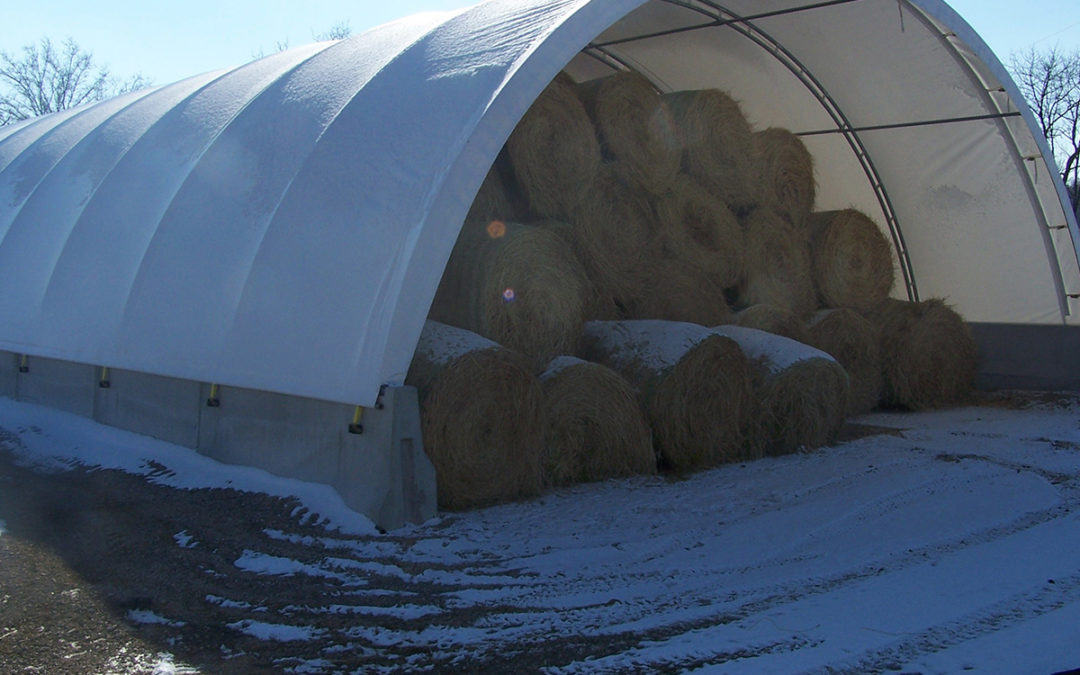
A building’s footprint tells you how much ground it covers. It does not tell you whether you can retrieve a tractor without moving three implements, unload hay without blocking the entrance, or reach the back of a stack when the building is full.
Plan the storage layout and the work routes together before selecting dimensions. A measured inventory, a simple floor sketch, and a check of usable height make the discussion about hoop building sizes and configuration options much more specific.
Measure what you will store
For equipment, record overall length, width, and height in the position used for storage. Include attached implements, mirrors, folded components, and other parts that affect fit. Note whether the machine will enter attached to a tractor or be placed by another piece of equipment.
For hay, record bale type, actual dimensions, seasonal inventory, and how it will be handled. Identify batches that need to remain accessible separately. A plan based only on total bale volume can overlook the space needed to load, retrieve, and manage those batches.
Add the items you expect to store together at the busiest time. If hay storage peaks before equipment moves inside for winter, check whether the two uses overlap rather than assuming they always happen separately.
Check openings and usable height
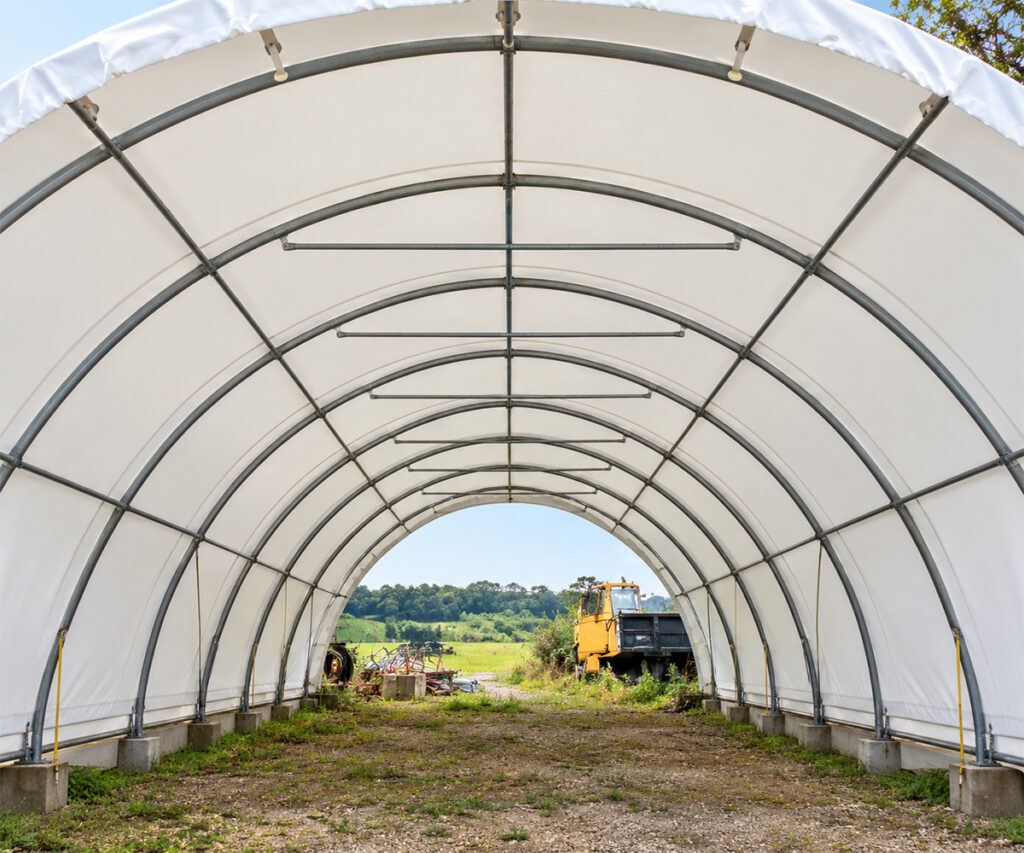
Mark the clear width and height of each proposed opening. Then check the full route from the outside approach to the storage position. A doorway that admits a machine does not establish that the machine can turn or operate inside.
Hoop profiles also make height a location-specific measurement. Ask for a cross-section drawing and check clearance where tall equipment, bale handling, or a planned stack will actually sit. Center height alone does not establish usable height near the sides.
QuickCover’s building information identifies different profiles, foundations, and opening options. Use the drawing for the proposed configuration rather than assuming that two equal-width structures have the same interior clearances.
Draw storage zones and movement zones separately
Start with the usable interior boundary, then mark receiving space, access routes, storage zones, and any obstructions. Deduct foundation thickness or other intrusions where applicable; advertised outside dimensions should not automatically become clear interior dimensions.
Use your equipment’s actual operating requirements to set aisle and approach space. A tape-measured machine width is only one input. Attachments, loads, turning, and the way the operator will retrieve stored items also matter.
Compare these two illustrative layouts for an assumed clear interior of 40 by 60 feet. The dimensions below explain the arithmetic; they are not recommended operating clearances or a confirmed building configuration.
Layout A with access down the center
Reserve a 12-foot-deep receiving zone across the 40-foot front, using 480 square feet. In the remaining 48 feet of length, draw a 12-foot-wide center aisle, using another 576 square feet.
That leaves two storage zones, each 14 by 48 feet, for a combined 1,344 square feet. The center route offers access along both sides, but each storage zone has only 14 feet of depth from the aisle to the side boundary.
Check whether equipment or hay-handling work actually fits that depth and the available height. Do not label the aisle adequate until the planned operating movements have been checked.
Layout B with access along one side
Keep the same 480-square-foot front receiving zone. Move the assumed 12-foot-wide route to one side of the remaining 48-foot length.
The route still uses 576 square feet, leaving one storage zone measuring 28 by 48 feet: again, 1,344 square feet. The amount of storage area is unchanged, but access is different. Items deeper in that zone may require moving nearer items first.
This is why identical square footage can produce different storage results. Compare how each layout handles your longest implement, your most frequently used machine, and the batches of hay you need to retrieve independently.
Test the layout at full inventory
Place the largest items first, then trace a normal day’s movements. Test the busiest season, not only the empty building.
- Can frequently used equipment leave without rearranging the rest?
- Can a delivery be received while existing stock remains inside?
- Can the operator retrieve older hay batches in the intended order?
- Are the opening, access route, and exterior approach kept available?
- Does the actual handling operation fit beneath the frame and through the opening?
The answers may suggest different door placement, a different arrangement, or more usable space. QuickCover’s size-planning guidance also highlights door placement and exterior maneuvering room. Include the approach area in the sketch rather than stopping the plan at the fabric wall.
Treat dry hay storage as its own planning requirement
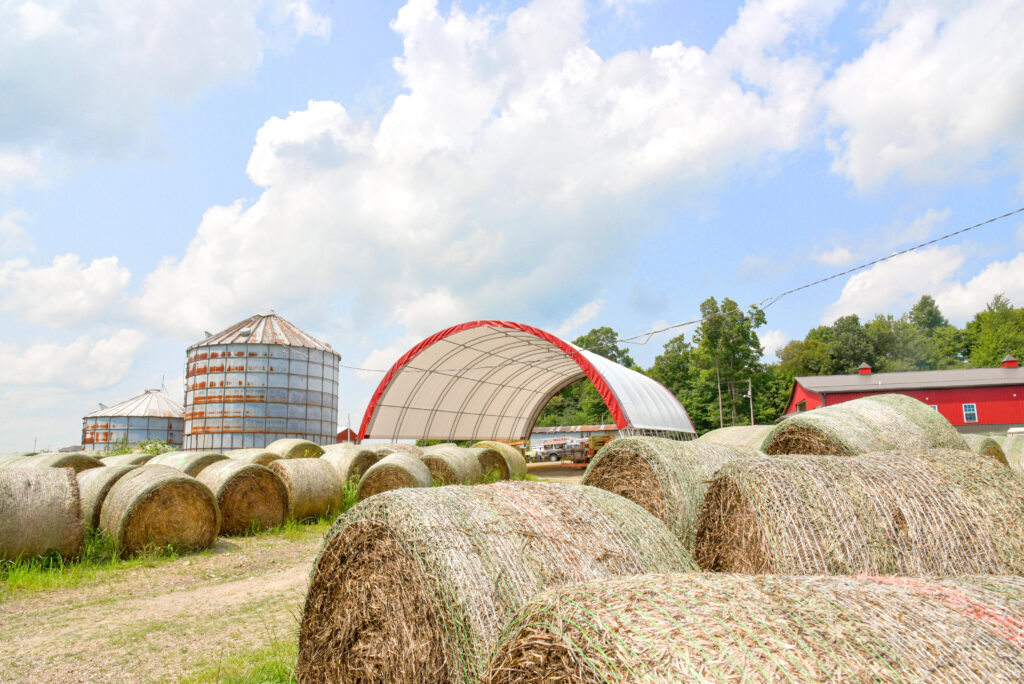
Roof coverage is only part of a hay-storage plan. University of Minnesota Extension explains how moisture affects stored hay and how excessive moisture can contribute to heating and fire risk.
Confirm the intended bale moisture, floor and moisture management, ventilation, handling arrangement, and safe stacking plan with the appropriate advisers. Do not infer a safe stacking height from available roof height or a floor-area calculation. A plan for dry hay is also different from one for wrapped forage.
Bring a measured sketch to the building discussion
Include your inventory, clear opening requirements, height checks, proposed storage zones, daily access needs, and the exterior delivery route. Identify any future use that would change those requirements.
Review our hoop building options for equipment and hay storage and bring the sketch to Ackerman’s Equipment. For foundation choices, see our hoop-building foundation overview. Call 330-674-0495 to discuss the configuration your operation needs.